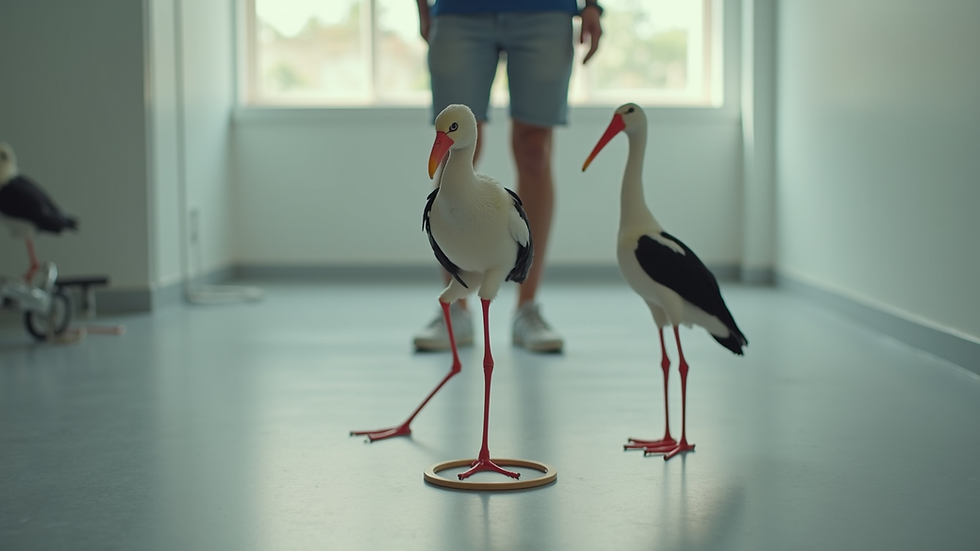
STORK BALANCE TEST
- Moran Sciamama-Saghiv
- Sep 4, 2025
- 4 min read
Have you ever considered how important balance is in our daily lives? The Stork Balance Test is a straightforward yet powerful tool that helps assess stability. This test is not just for athletes; it’s beneficial for anyone aiming to enhance their physical fitness. In this post, you'll learn how to perform the Stork Balance Test, why it matters, and how to interpret your results.
What is the Stork Balance Test?
The Stork Balance Test measures static balance, which is your ability to hold a position without moving. This evaluation focuses on the strength and stability of your lower body, particularly the muscles in your ankles and feet.
To take the test, you will stand on one leg while the other leg is bent at the knee, resting on the inner thigh of the standing leg. The goal is simple: maintain your position for as long as you can without falling or losing balance.
Why is Balance Important?
Balance is a key part of physical fitness and overall health. It plays a crucial role in daily activities and helps prevent injuries.
Here are some significant reasons why balance matters:
Fall Prevention: According to the Centers for Disease Control and Prevention (CDC), falls are the leading cause of injury among older adults. Enhancing balance can significantly reduce this risk.
Sports Performance: For athletes, good balance allows for better control during activities like running, jumping, and changing direction. Research shows that improved balance can lead to a 15% increase in performance in sports activities.
Rehabilitation Aid: In physical therapy, focusing on balance can speed up recovery times and help restore mobility after injuries.
How to Perform the Stork Balance Test
Step 1: Preparation
Before starting, find a flat, stable surface where you can stand undisturbed. Remove any potential hazards or distractions.
Step 2: Positioning
Stand tall with your feet together.
Shift your weight onto your right leg.
Bend your left knee and place your left foot against the inner thigh of your right leg.
Step 3: Starting the Test
Lift your heel off the ground, balancing on the ball of your right foot.
Keep your arms at your sides or on your hips for increased stability.
Start a timer as soon as you lift your heel.
Step 4: Timing
Try to maintain your balance for as long as possible.
Stop the timer if you lose your balance. This can happen if your raised foot touches the ground, your standing foot moves, or you use your arms for support.
Step 5: Record Your Results
Write down the total time you maintained your balance. This time serves as your score for the test.

Interpreting Your Results
Your score can provide insights into your balance capabilities. Here are some general guidelines to help you understand what your score means:
Less than 10 seconds: This suggests poor balance. It may be beneficial to explore further assessments or balance training.
10 to 20 seconds: This indicates average balance, with room for improvement. A structured plan focusing on balance exercises might help.
More than 20 seconds: This shows good balance and stability, indicating that your lower body strength is likely developed well.
It’s important to remember that these ranges may vary based on individual factors like age and fitness level.
Benefits of the Stork Balance Test
1. Simple and Accessible
The Stork Balance Test is easy to perform and requires no special equipment. You can do it in your living room, making it accessible for anyone wanting to assess their fitness.
2. Identify Balance Weaknesses
The test helps pinpoint specific areas where your balance might be weaker. This data is critical for creating focused training programs that enhance stability and minimize the risk of falls.
3. Track Your Improvement
Performing the Stork Balance Test regularly allows you to track your balance over time. Seeing improvements can motivate you to stay dedicated to your fitness journey.
4. Boost Athletic Performance
For those engaged in sports, balance is crucial for enhancing performance. The Stork Balance Test can help highlight weaknesses that may be impacting your game, enabling better-targeted training.
Training to Improve Balance
If your results show you need to work on your balance, here are some effective exercises you can try:
1. Single-Leg Stand
Practice standing on one leg. Start by holding the position for 10 seconds, gradually increasing the time as you improve. To boost difficulty, try closing your eyes or standing on an unstable surface like a balance pad.
2. Heel-to-Toe Walk
Walk in a straight line, placing the heel of one foot directly in front of the toes of the other foot. This simple exercise will challenge your balance and coordination.
3. Balance Board Exercises
Using a balance board can greatly enhance your stability. Stand on the board and shift your weight side to side, trying to remain balanced.
4. Yoga and Pilates
Engaging in yoga or Pilates can enhance your balance, flexibility, and core strength. Practices like tree pose in yoga can specifically target balance improvement.

Final Thoughts
The Stork Balance Test serves as a valuable gauge for assessing balance and stability. Whether you are an athlete looking to enhance your performance or someone working to better their fitness level, this test offers crucial insights.
By understanding how to perform the test and what your results mean, you can take steps to improve your balance through targeted exercises. Balance affects both your daily life and athletic performance. So why not incorporate the Stork Balance Test into your fitness routine? Over time, you will likely see improvements in your stability and confidence.

Services by Dr. Moran Sciamama-Saghiv:


Comments